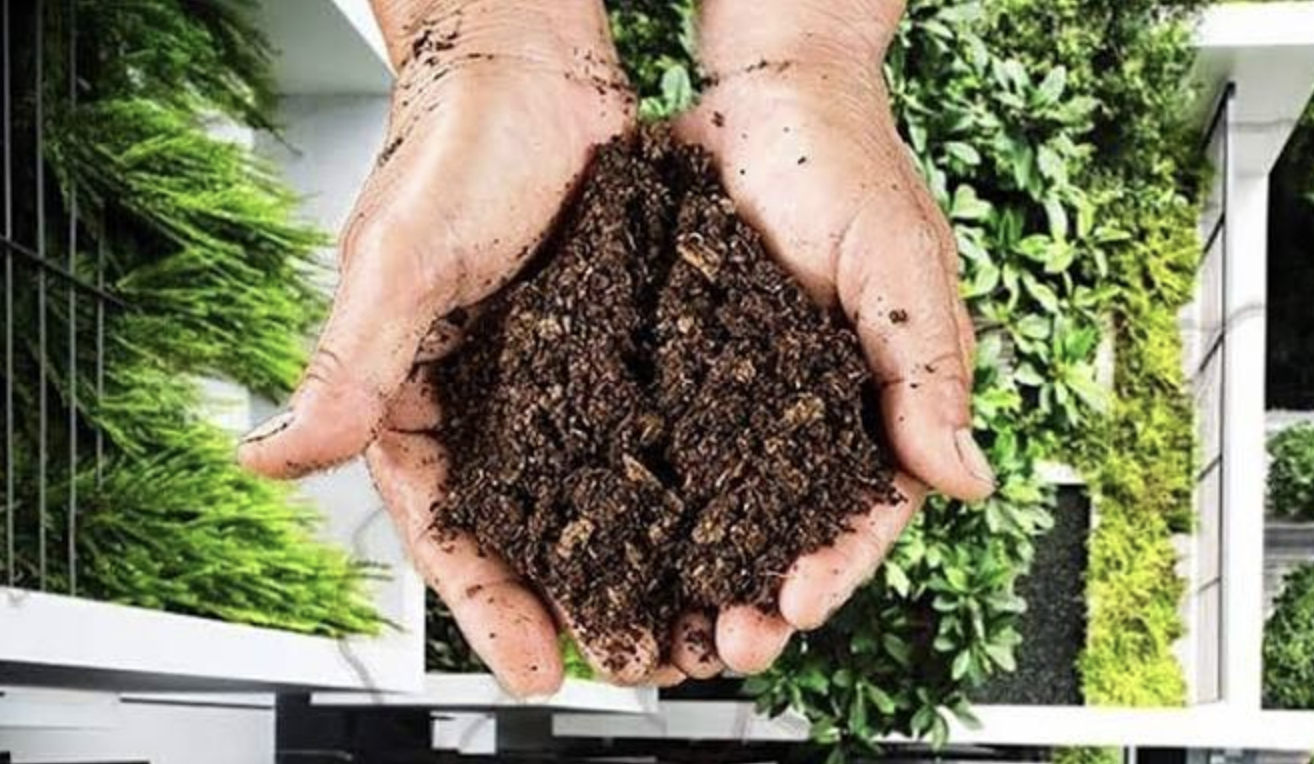
Food scraps and yard trimmings make up a sizable share of what ends up in household trash, and once buried in a landfill, that organic material breaks down slowly without oxygen, producing methane rather than turning into anything useful. Composting at home diverts that same material into a process that instead produces a dark, crumbly, nutrient-rich soil amendment that can feed a garden, a few potted plants, or a small lawn.
Getting started requires far less space and expertise than many people assume, and once the basic balance of materials is in place, a compost pile largely maintains itself with only occasional attention.
Materials That Belong in a Compost Pile
Composting works by feeding a community of bacteria, fungi, and small organisms a mix of carbon-rich and nitrogen-rich material, along with air and moisture, so they can break plant matter down into finished compost. Getting the mix right starts with knowing which household and yard materials are safe to add and which ones should stay out of the pile entirely.
- Fruit and vegetable scraps: peels, cores, and trimmings break down quickly and contribute moisture and nitrogen to the pile.
- Coffee grounds and tea leaves: both count as nitrogen-rich material and are easy to collect daily from a kitchen routine.
- Dry leaves and shredded paper: carbon-rich material that balances out wetter kitchen scraps and helps keep the pile from turning slimy.
- Grass clippings: a nitrogen source, though they should be mixed with dry material rather than piled on their own, since a thick mat of clippings can turn anaerobic and start to smell.
- Eggshells: contribute calcium and break down slowly, so crushing them first speeds up the process.
- Cardboard and untreated wood chips: additional carbon sources that help maintain airflow within a dense pile.
Meat, dairy, oily foods, and pet waste are generally best left out of a home compost pile, since they attract pests, produce strong odors as they decompose, and can introduce pathogens that a backyard pile does not reach a high enough temperature to fully destroy. Diseased plants and weeds that have already gone to seed are also worth keeping out, since a home pile may not get hot enough to kill either the disease or the seeds, which can then spread right back into the garden once the finished compost is used.
Some households choose to collect a small amount of allowed dairy or grain waste, such as stale bread, in a separate bokashi bucket instead, a fermentation method that pre-treats scraps most backyard piles cannot safely handle. Bokashi relies on an inoculated bran mixture and an airtight container rather than open-air decomposition, and once fermented, the material can be buried in soil to finish breaking down. It is a useful complement for households that generate more restricted food waste than a typical backyard pile can absorb, though it does add a second system and a recurring cost for the bran mixture.
Bins and Systems to Consider
A compost pile does not strictly need a container at all; a simple heap in a corner of the yard works, provided it is turned occasionally and kept away from property lines and windows where odor could bother a neighbor. Most people find a contained system easier to manage, though, since a bin keeps material tidier, holds in heat and moisture more consistently, and can deter animals looking for an easy meal.
- Open bin or wire enclosure: a simple, low-cost option made from wire mesh or wooden pallets, well suited to yards with space to spare.
- Tumbler composters: an enclosed drum that rotates on an axle, making turning the pile far easier and often producing finished compost faster than a static pile.
- Stationary plastic bins: enclosed on the sides with an open bottom, allowing worms and soil organisms to access the pile from below while keeping pests out from the sides.
- Worm bins: a compact indoor or garage-based system using red wiggler worms to process food scraps, well suited to apartments or homes without outdoor space.
- Trench composting: burying scraps directly in a garden bed, requiring no bin at all, though it works best for small volumes rather than a household’s full output.
Choosing between these options often comes down to available space, how much material a household generates, and how much manual turning a person is willing to do. A tumbler suits someone who wants faster results with less heavy lifting, while a simple open bin suits someone with more yard space and patience.
Placement of the bin matters almost as much as the bin itself. A spot with partial sun helps keep the pile warm enough for active decomposition without drying it out completely, while full shade can slow the process in cooler climates. Placing the bin on bare soil rather than concrete or pavement allows worms and beneficial organisms to migrate up into the pile naturally, and keeping it a reasonable distance from the house reduces the odds of odor drifting toward windows or a patio during the warmer, more active months.
Balancing Greens and Browns
The single most common reason a home compost pile fails to break down properly, or starts to smell, is an imbalance between nitrogen-rich materials, often called greens, and carbon-rich materials, often called browns. A healthy pile needs roughly two to three parts browns for every one part greens by volume, though this ratio can flex depending on how wet or dry the greens are.
Greens include fresh kitchen scraps, coffee grounds, and grass clippings, all of which tend to be moist and decompose quickly, releasing nitrogen that feeds the microorganisms doing the breakdown work. Browns include dry leaves, straw, shredded cardboard, and small twigs, which are drier and higher in carbon, providing the structure and airflow that keeps a pile from compacting into a wet, oxygen-starved mass. A pile with too many greens and not enough browns tends to turn slimy and smell like ammonia, while a pile with too many browns and not enough greens breaks down very slowly and can look dry and inactive for months.
Layering material as it is added, alternating a scoop of greens with a layer of browns, helps maintain this balance without needing to measure exact ratios every time. Keeping a stockpile of dry leaves or shredded cardboard near the compost bin makes it easy to add browns immediately after adding kitchen scraps, which is a simple habit that prevents most of the common problems people run into early on.
Chopping or shredding material before adding it to the pile speeds up decomposition more than a small effort might suggest, since smaller pieces expose more surface area to the microorganisms doing the work. Running fallen leaves over with a lawn mower before adding them, or roughly chopping thick vegetable stems, cuts down the time needed for full breakdown without requiring any special equipment beyond what most households already own for yard maintenance.
Troubleshooting Common Problems
Even a well-managed compost pile occasionally runs into issues, and most of them trace back to moisture, airflow, or the greens-to-browns ratio rather than anything more complicated. Recognizing the signs early makes fixes straightforward.
- Bad odor: usually signals too many greens or not enough airflow; adding dry browns and turning the pile introduces oxygen and helps rebalance the mix.
- Pile is too dry: material breaks down slowly and looks dusty rather than crumbly; adding water while turning, aiming for the moisture of a wrung-out sponge, restores activity.
- Pests or rodents: often drawn to meat, dairy, or oily food scraps that should not be in the pile in the first place; burying fresh scraps under a layer of browns and using a secured bin can help.
- Pile is not heating up: can result from too small a pile size, too dry a mix, or not enough nitrogen-rich material; adding fresh greens and increasing the pile’s overall volume can jump-start the process.
- Fruit flies: commonly appear around exposed fruit scraps; burying scraps a few inches into the pile rather than leaving them on the surface usually resolves this quickly.
Turning the pile every one to two weeks introduces oxygen, redistributes moisture, and helps break up any compacted, matted sections, which speeds decomposition and reduces most odor problems before they start.
A pile that seems to have stalled entirely, showing no heat and little visible change over several weeks, sometimes just needs a fresh injection of nitrogen rather than a full overhaul. Adding a batch of coffee grounds, fresh grass clippings, or even a small amount of general-purpose garden fertilizer can restart microbial activity in a pile that has plateaued after using up its available nitrogen. Checking the pile’s size is also worth doing, since a pile smaller than roughly three feet in each direction often struggles to retain enough heat to sustain active decomposition, especially once cooler weather sets in.
Using Finished Compost in the Garden
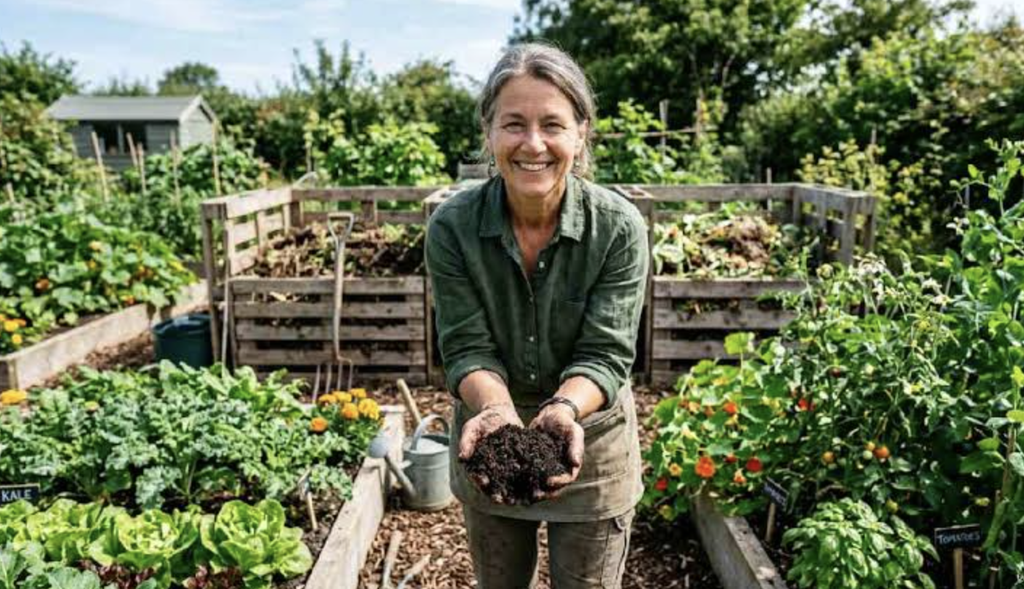
Compost is generally ready when it has turned into a dark, crumbly material that smells earthy rather than like rotting food, and when the original materials are no longer easily recognizable. Depending on the method, climate, and how often the pile is turned, this process can take anywhere from a couple of months to close to a year for a slower, low-maintenance pile.
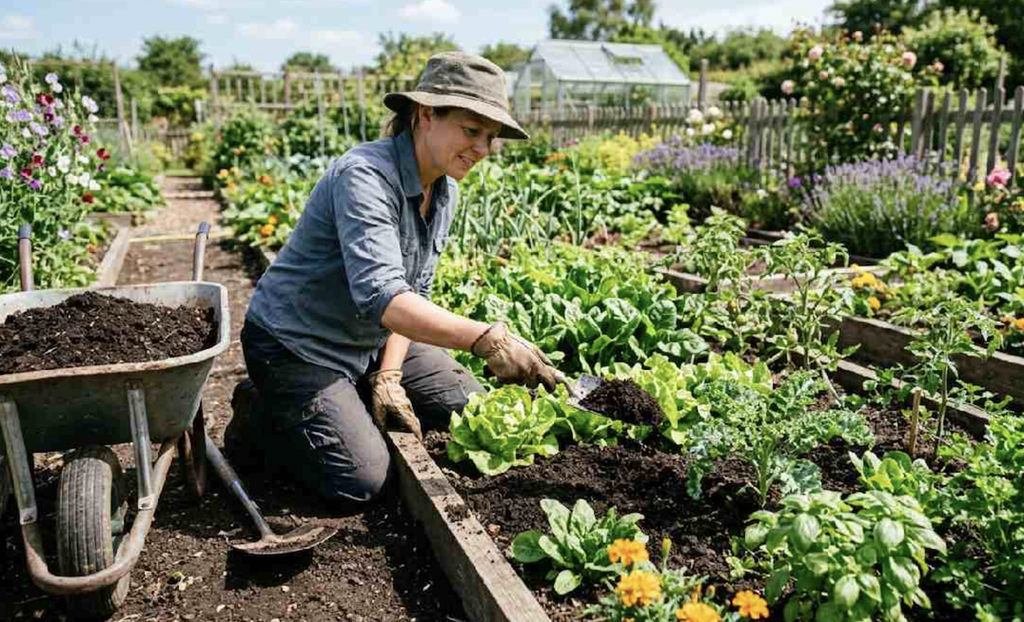
- Garden beds: mixing two to three inches of finished compost into topsoil before planting improves soil structure and adds slow-release nutrients.
- Potted plants: blending finished compost with potting soil at a modest ratio can boost nutrients without overwhelming a container plant’s roots.
- Lawn topdressing: a thin layer of sifted compost spread across grass can improve soil health over a season without smothering the existing lawn.
- Mulch layer: spreading compost around the base of trees and shrubs helps retain moisture and slowly feeds the surrounding soil as it settles in.
- Compost tea: steeping finished compost in water creates a liquid that can be used to water plants, delivering nutrients in a more immediately available form.
Unfinished compost, recognizable by visible food scraps or a pile that still feels warm and smells strongly, should not be worked directly into soil where plants are actively growing, since it can temporarily rob the surrounding soil of nitrogen as it continues to break down and, in some cases, generate enough heat to damage young roots.
Screening finished compost through a simple mesh screen before use removes larger chunks, twigs, and any material that has not fully broken down, leaving behind a fine, even texture that blends more smoothly into soil or potting mixes. Whatever does not pass through the screen can simply go back into the active pile to continue decomposing, so nothing is wasted in the process.
Seasonal Adjustments and Maintenance
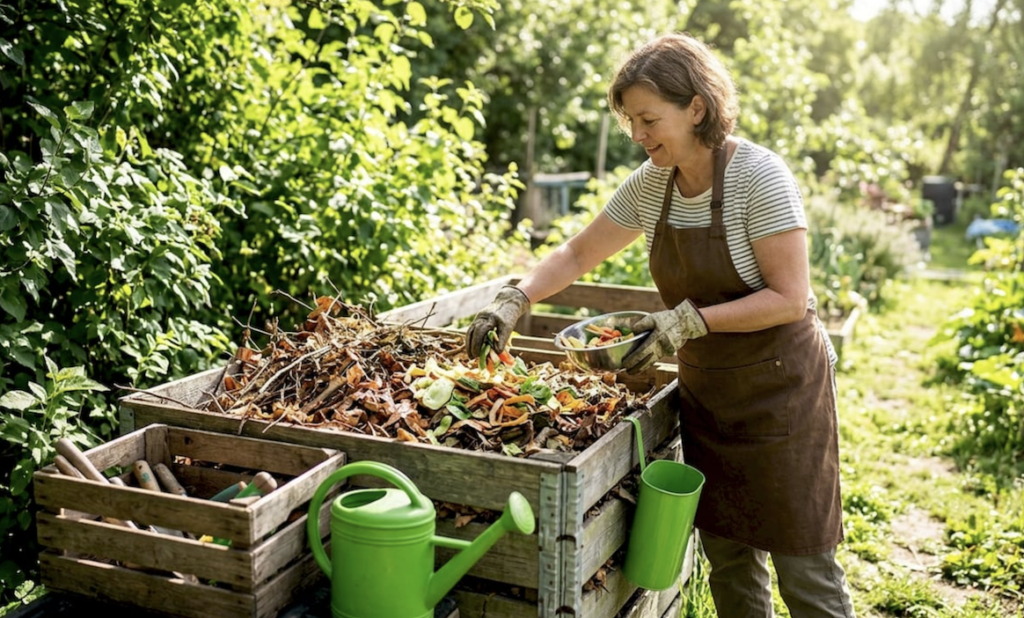
Composting activity slows dramatically once temperatures drop, since the bacteria responsible for breakdown work far more slowly in cold conditions, and a pile can nearly stop working altogether once it freezes solid. This is a normal seasonal pattern rather than a sign that something has gone wrong, and activity resumes once temperatures rise again in spring.
- Winter: insulating a bin with a layer of straw or leaves helps retain some heat, though slower decomposition through the cold months is expected and normal.
- Spring: turning the pile once it thaws jump-starts activity, and this is a good time to add fresh material as garden cleanup generates plenty of green waste.
- Summer: hot, dry weather can dry out a pile quickly, so checking moisture levels and watering during long dry stretches keeps decomposition on track.
- Fall: an abundance of dry leaves makes this the easiest season to stockpile browns for the rest of the year, since leaves can be bagged and stored for months.
- Year-round collection: keeping a small countertop container for kitchen scraps, emptied every few days into the outdoor pile, keeps the habit consistent regardless of season.
Adjusting expectations by season, rather than assuming a pile should break down at the same rate all year, helps prevent unnecessary troubleshooting during naturally slow winter months. Marking a rough date on a calendar when a bin gets filled can also help track how long full batches typically take in your own climate, since local weather patterns shift the timeline more than any general guideline can predict.
Final Thoughts
Composting at home turns everyday food scraps and yard waste into a resource that benefits soil and reduces what ends up in the trash, and the process is far more forgiving than it might first appear. Success mostly comes down to balancing greens and browns, keeping the pile appropriately moist, and turning it occasionally to maintain airflow.
Choosing a bin style that fits your space and habits, whether that is a simple open pile, a tumbler, or an indoor worm bin, makes the routine easier to sustain long term. Expect activity to slow in winter and pick up again in spring, and use finished compost to enrich garden beds, potted plants, or a struggling lawn. With a small amount of ongoing attention, a compost system becomes a quiet, low-effort habit that pays off across every growing season.
Read more about Newolt
Frequently Asked Questions
How long does it take for compost to be ready to use?
It varies widely based on the method, pile size, and climate, ranging from about two months for a well-managed, frequently turned pile in warm weather to nearly a year for a passive pile that receives little attention. Checking for a dark, crumbly texture and an earthy smell is a more reliable indicator than a fixed timeline.
Can I compost in an apartment without outdoor space?
Yes, a worm bin or a small enclosed countertop composter can process food scraps indoors without producing strong odors when managed properly. Some cities also offer curbside or drop-off composting programs as an alternative for apartment dwellers.
Do I need to buy special worms for a worm bin?
Standard garden earthworms are not well suited to a worm bin, since they prefer to burrow deep in soil rather than live in a shallow container of food scraps. Red wiggler worms are the species typically used for worm composting because they thrive in the shallow, nutrient-dense environment a bin provides.
Will composting attract bugs or rodents to my yard?
A well-maintained pile with a proper greens-to-browns balance, buried food scraps, and a secured bin design is far less likely to attract pests than an open pile of exposed food waste. Avoiding meat, dairy, and oily scraps also reduces the risk substantially.
Is it normal for a compost pile to steam or feel hot?
Yes, an active pile can reach fairly high internal temperatures as microorganisms break down material, and steam is often visible on cool mornings when the pile is turned. This heat is a sign that decomposition is working well rather than a cause for concern.
Can I compost citrus peels and onion skins?
Both can be composted in moderate amounts, though some people limit large quantities of citrus due to its acidity and the fact that it can take longer to break down than softer fruit scraps. Chopping peels into smaller pieces helps them decompose faster alongside other kitchen waste.